

Welcome to the Six Point Diamond Star Block Tutorial!! Let's get sewing...
Materials needed:
Background fabric (mine is white) - 2 - 3.5 inch by width of fabric strips
Colors: 6 scraps 3.5 inches by AT LEAST 7 inches
A 60 degree ruler (or some method of measuring a 60 degree angle!)
All seams are 1/4 inches!

Using the 60 degree ruler, trim the end of the strip at a 60 degree angle.

Slide the ruler down 4 inches and cut at another 60 degree angle like so.

Continue down the strip. Cut 12 white diamonds.

Using the same cutting method, cut 6 colored diamonds.

Lay out all 18 diamonds in this manner:

We will be sewing the block by halves first, so separate the block into bottom and top halves like so:

Now, with your center diamonds, mark at the corners 1/4 inch from the edge like this:

Mark the edges of the side diamonds where Y seams will occur, like this:

**I forgot to get them in the picture, but mark the appropriate white diamonds as well!
Now, we are going to do our straight seams first! Take out the middle diamond and set it to the side. You will be left with 8 diamonds.
You will stitch the diamonds together as indicated below:

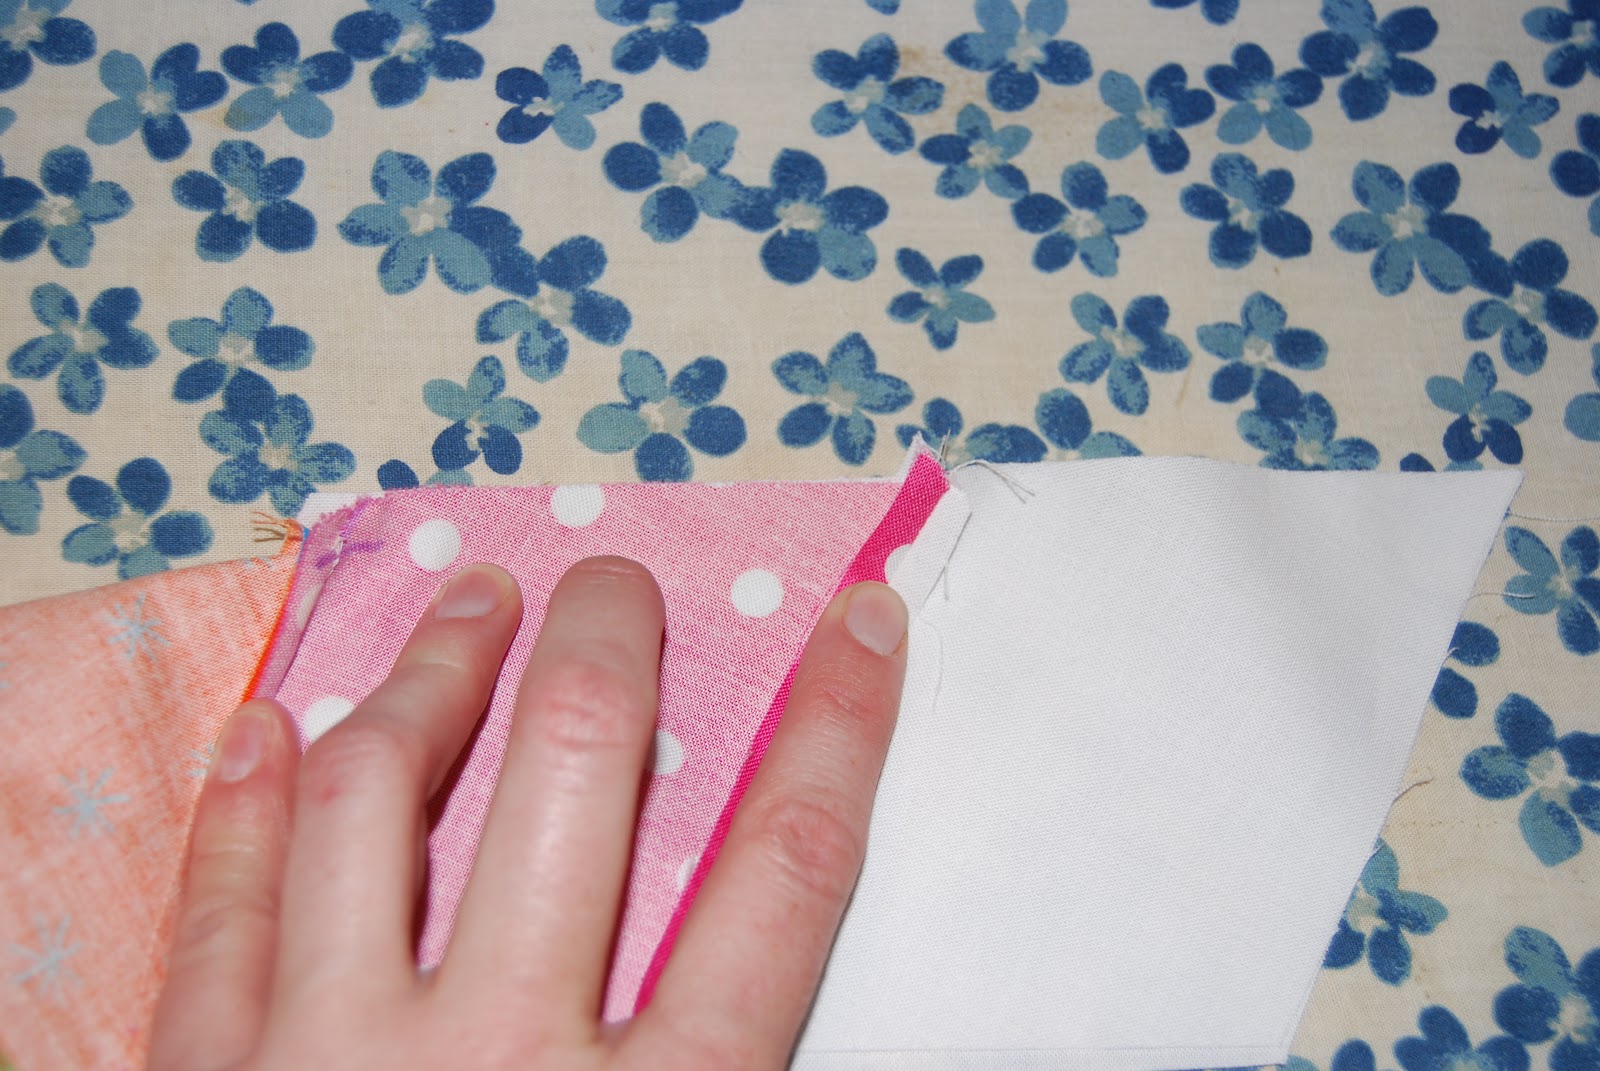
When you line up the edges, you must let the ends hang over on each side by 1/4 of an inch, like this:

Press the seams OPEN! Then, back out around the center diamond.

Line up the center diamond edge with one side of the top row:

Stitch from top down to the marked X. Press seam AWAY from the center diamond.

Now, line up the center diamond edge with the other side of the top row.

Stitch from top to marked X. Press AWAY from center diamond.

Now, do the same for the bottom row. Take care to move the fabric of the top row out of the way when you stitch down to the marking!

Do this on the both sides!

Okay! Now this is the tricky part! Fold your center diamond in half, so that you can line up the edges of the top and bottom row. Line up the little "dog ears" and move the bit of fabric or the center diamond at the edge so that you can sew from the marking to the edge!
Repeat on the other edge as well! When you press the seams, open the seams, and press the corner of the diamond flat onto the opened seam, like this:

This is how the back will look when it's all pressed!

Nice, eh?
Now repeat everything on the other half!

Once both halves are sewn, there is only one more seam to do!! To get the points nice and pointy, stick a pin in the apex of the diamond, then through the other like this:

This will keep them lined up, and your pin will be right where you need to sew! Pin the length of the seam well. If the outer edges don't line up, it's okay - we'll be trimming those anyway!!

Sew the seam, and press it open to reduce bulk in the center. Here we are! Very nice!

Now to trim. For some bizarre reason, this block isn't a perfect square. It will end up being 12 X 12.5 unfinished. so... trim it like this": The points that run top to bottom you will trim to 12 inches. Then trim the excess fabric of the other side at 12.5 inches. (If you want a square, there is enough room to do it at 12 inches. I just like the ease of using my big square thing. Do what make you happy!)

And now you are done!! Wonderful block!

Enjoy!!
4 comments:
Excellent! I'm pinning this for future reference.
Thank you, it is a great tutorial!
WOW it's beautiful!!!
Not sure if you're still monitoring this, but I have been looking for days for this specific way to piece a 6 point star! I'm using plaid fabric and want each star point to match up. Thank you so much!
Post a Comment