
I admit - I like this version of the Ninja Star a lot better than my original! ;)
Okay - first off, block will measure 12.5 inches unfinished, all seams are 1/4 inch, and I pressed most of my seams open to reduce bulk.
Fabric
You will need: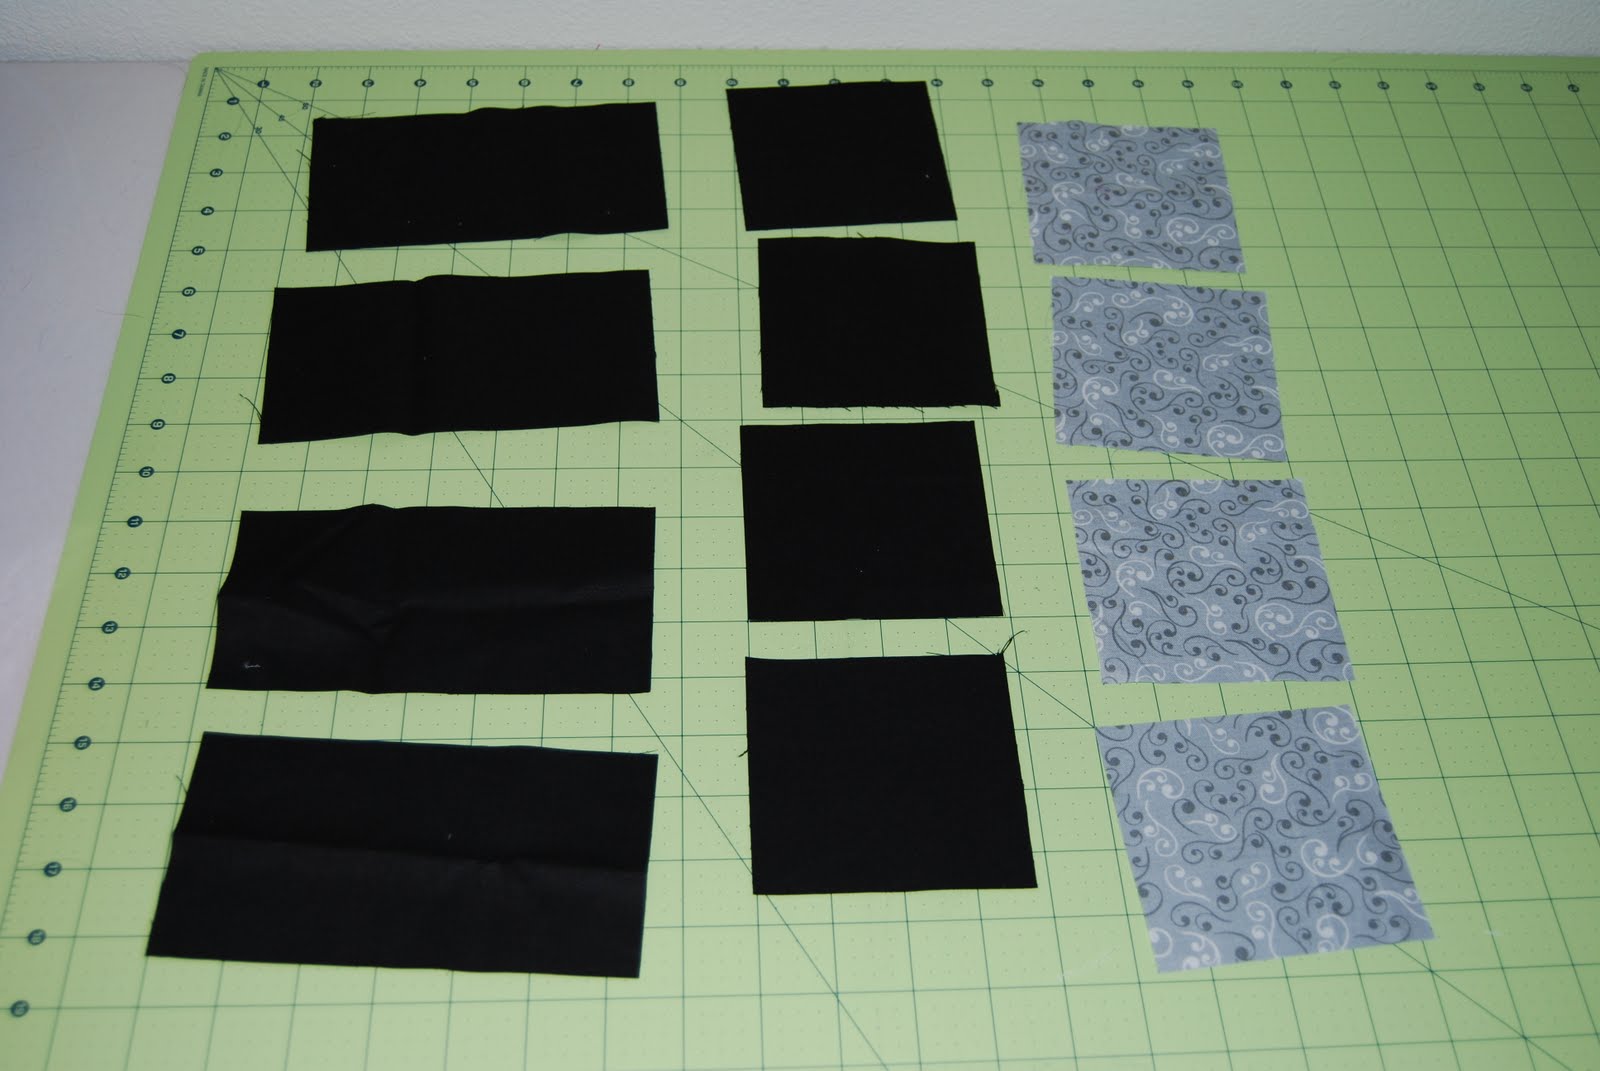
4 - 3 7/8 inch square blocks of print for star points
4 - 3 7/8 inch square blocks of background fabric
4 3 1/2 x 6 1/2 inch of background fabric
Start with Half Square Triangles! Match one background square to print square, right sides together. Trace a line down the diagonal on each set.
Sew 1/4 inch on each side of the marked line:
Cut down marked line:

Now you have eight sets!! Press open and trim the corners!
Arrange squares in this manner:
Start by sewing the half square triangles together this way:
Sew a background rectangle to each set of HST to form 4 sub-squares:
(On these, I pressed the seams toward the background rectangles.)
Now, sew two sub-squares together:
Then, finish off that square by sewing the two halves together!
TaDa!! Your very own Ninja Star!! Happy sewing everyone!

Thursday, July 14, 2011
Ninja Star - a tutorial!
I was asked to do a tutorial on the Ninja Star, so here we go!
Subscribe to:
Post Comments (Atom)
3 comments:
Ha, this is very close to our next Summer Sampler block, tutorial to come on my blog tomorrow morning! So you've got a leg up on that one! : )
Thanks! I am putting it on my list to do, week after next.
Great tute Lindsay!
Post a Comment