
So, I thought - hmmm... maybe this would be a fun thing for my first tutorial! They are, after all - really easy and really fast! So, here we go!

You will need:
Fabric (I'm not doing measurements here - make whatever size you need. Today, I used two 14" x 15" pieces, and I used scraps.)
Cord (again, it depends on what size your bag is. Shock cord or thin rope work well.)
A Cord-lok (those little slidey things that keep bags closed. You can see it in the picture!) You can find these in the camping supply section of stores like Ace or Walmart.
Okay - start by cutting your fabric to the size you would like. Any. Size. Works. Like I said, today I did 14 x 15, but I have made smaller ones (like 6x6) and hUge ones (Like 44x36).

At the bottom, cute away a square on each side. I did mine 3x3, but if you are doing a bigger bag, you'll want to do larger squares.

With right sides together, stitch the sides and the bottom. Press seams open.

Now, for the bottom, you are going to open the square by pulling the corners apart. Or, bringing the side seam to the bottom seam. Get it? Like this:

Stitch both sides.

Now, on the top, press down about 1/2 hem. You don't have to make it pretty if this is a utility bag, but if it's for something nicer, turn the edge under.

Now, I cut a little slit in the hem allowance. For the cord. This is a utility bag, so I'm not worried about leaving a raw edge. If you want it to look nicer, zigzag or button hole the edges to make them look nice.

Stitch hem in place all the way around.

Feed cord through slit all the way around. Using a safety pin helps with this if you need.

Now, turn the bag right side out. Nice, yes?

Put the cord-lok on by squeezing it open and feeding both ends of the cord through.


Add your stuff
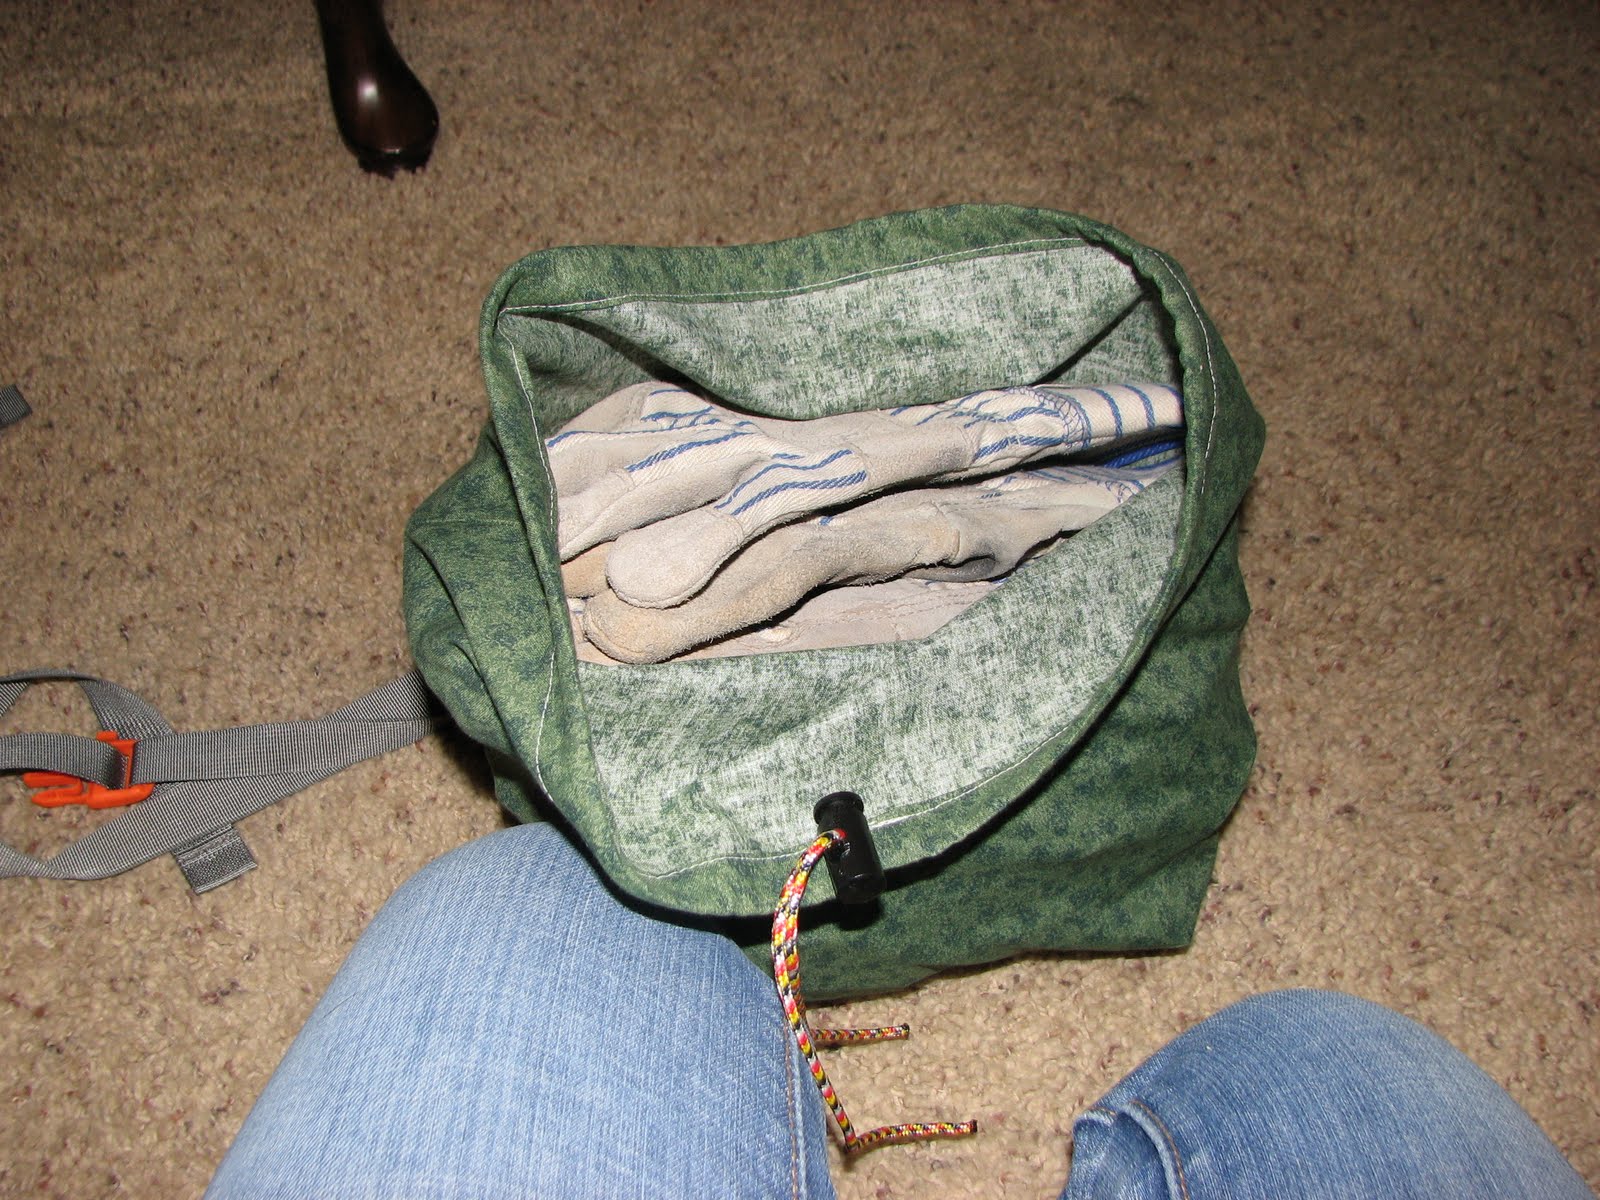
Pull tight!

And tada! A quick and easy ditty bag!
Happy sewing!
