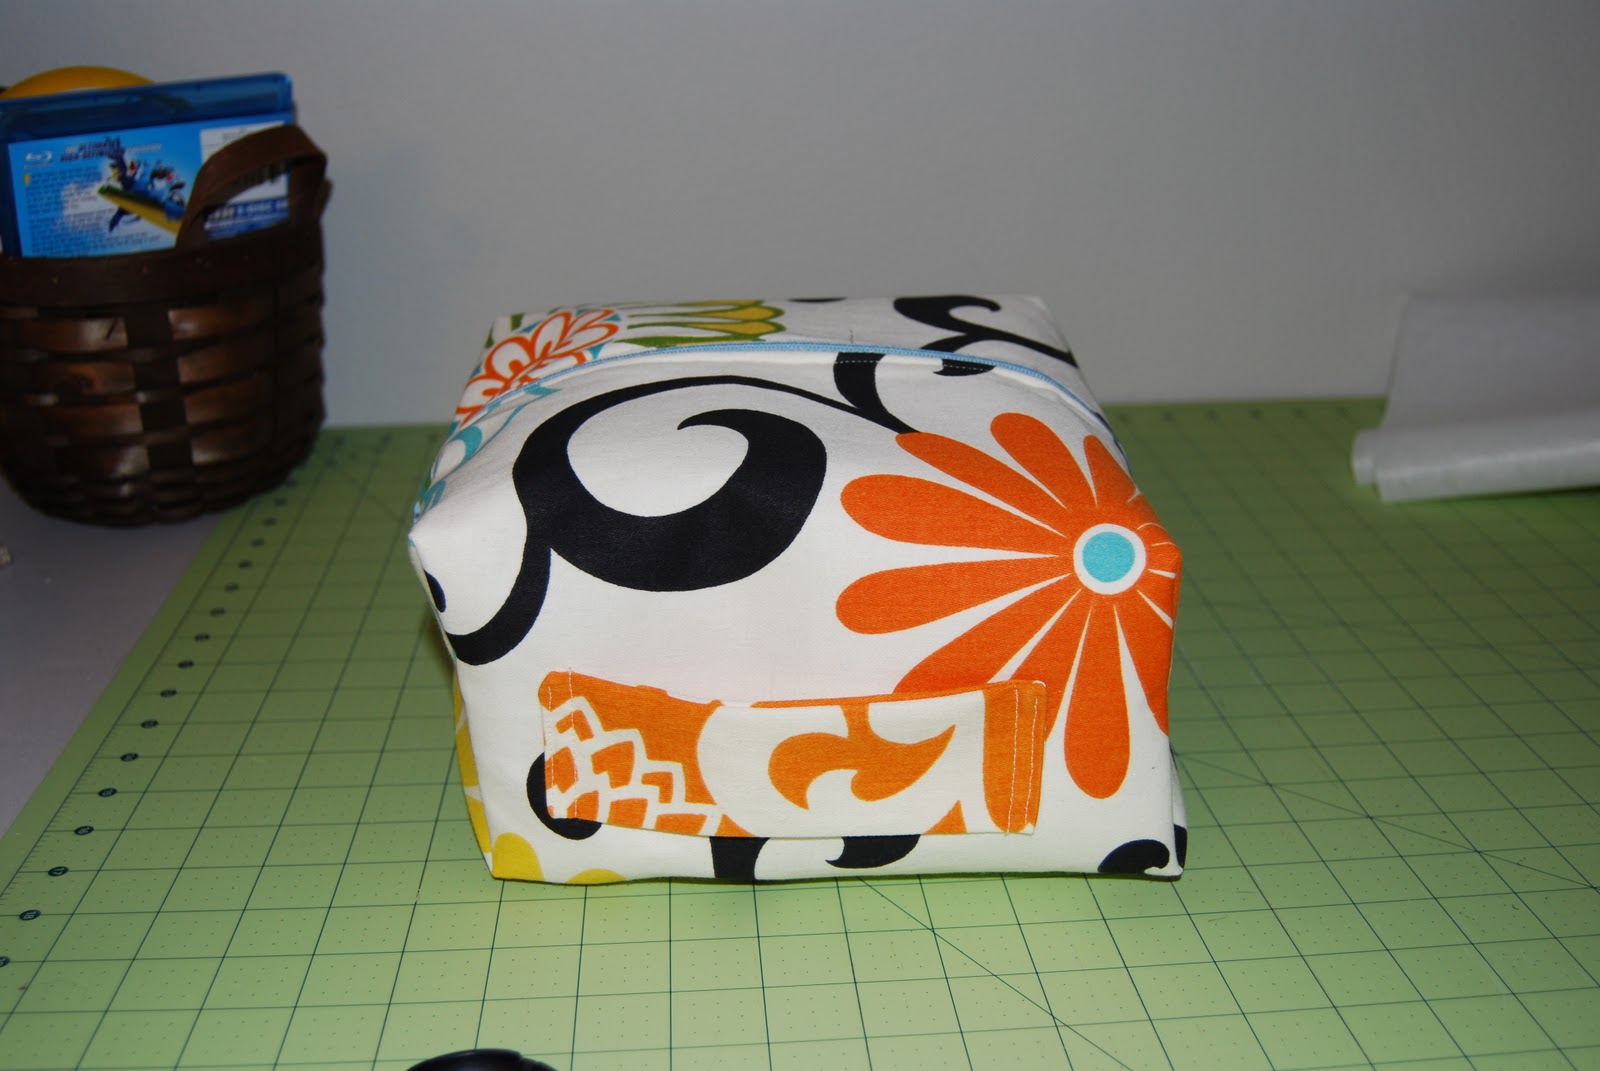
Today I finished the Dopp Kits to go with the Weekender Bags. I fiddled and tweaked and changed the original tutorial (found
HERE) so much, that I am going to share a new tutorial - Dopp Kits, Linz style. ;)
For those who are not familiar with the term "Dopp Kit" - it is just a manly term for a toiletries bag. :)
Materials:
1/3 yd main fabric
1/3 yd lining fabric
2/3 yd fusible interfacing
1 12" (or longer) zipper
Cut:
From main: 2 - 11 x 10 inch rectangles
From lining: 2 - 11 x 10 inch rectangles
1 - 3 x 7 inch rectangle
From interfacing: 4 - 11 x 10 inch rectangles
Apply fusible interfacing to the wrong side of all 4 rectangles (main and lining fabrics)
On ALL 4 rectangles (main and lining fabrics), on 11" side, measure a 4 x 2 inch rectangle from one side, mark the side line only.
Move ruler over 3 inches, mark next side line and bottom line.
Do this on both sides on all 4 rectangles, so there is a 3 x 2 inch rectangle marked in center of 11 inch side as seen below.
On all 4 pieces, cut out 3 x 2 inch rectangles. They will look like H's now.
Zipper! I find it helps to sew a little zig zag stitch at the top of my zipper to keep it together. To do this, simple set a short zigzag stitch length and stitch a few times in the same spot above the zipper head.
At the end of the zipper, create a stop block by setting a long zig zag stitch and stitching a few times in the same place, so that the stop is just short of where your fabric ends. The zipper will need to be 10 inches long.
Make a zipper sandwich. With one piece of LINING right side up, lay your zipper right side up on top of it, keeping the stops just inside the edges. lay on piece of main fabric on top, right side DOWN.
Pin all layers in place, and then trim off excess zipper. Mine was way long...
Using your zipper foot, stitch the layers together.
Flip open and press.
I like to top stitch, again using the zipper foot. This isn't strictly necessary, but I think it looks nice.
Now, make the zipper sandwich on the other side, stitch, press, and top stitch in the same manner.
Once that is finished, flip like fabrics together like so:
Stitch the long edge on main fabric the entire length.
On long side of LINING, leave a 4 - 5 inch hole for turning.
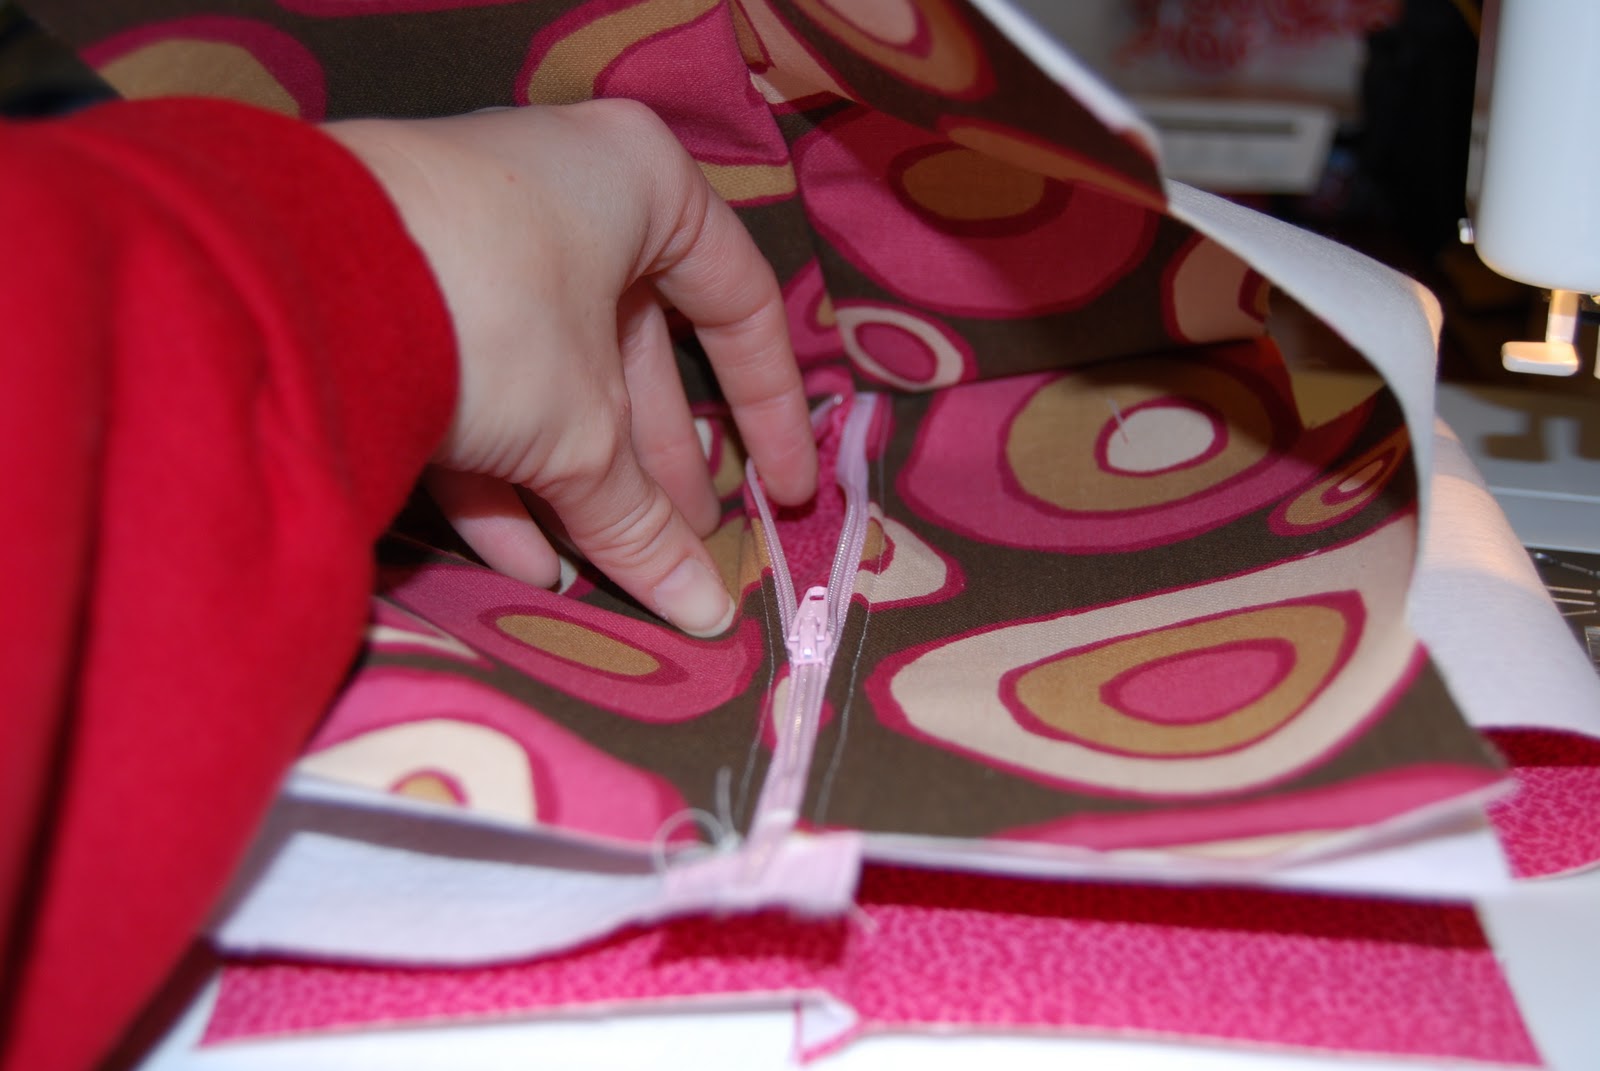
Now, on the short end of MAIN fabric, on the side where the TOP of the zipper is, line up edges with zipper in the middle, like so:
Place on machine, folding the lining edges down like so.
This can be a little tricky, but carefully stitch the main fabric together, just catching the lining around the zipper. Do the EXACT same thing for the lining, catching a little of the main at the zipper.
Make sure to fold them back so you are only getting a small amount as you stitch over the zipper.
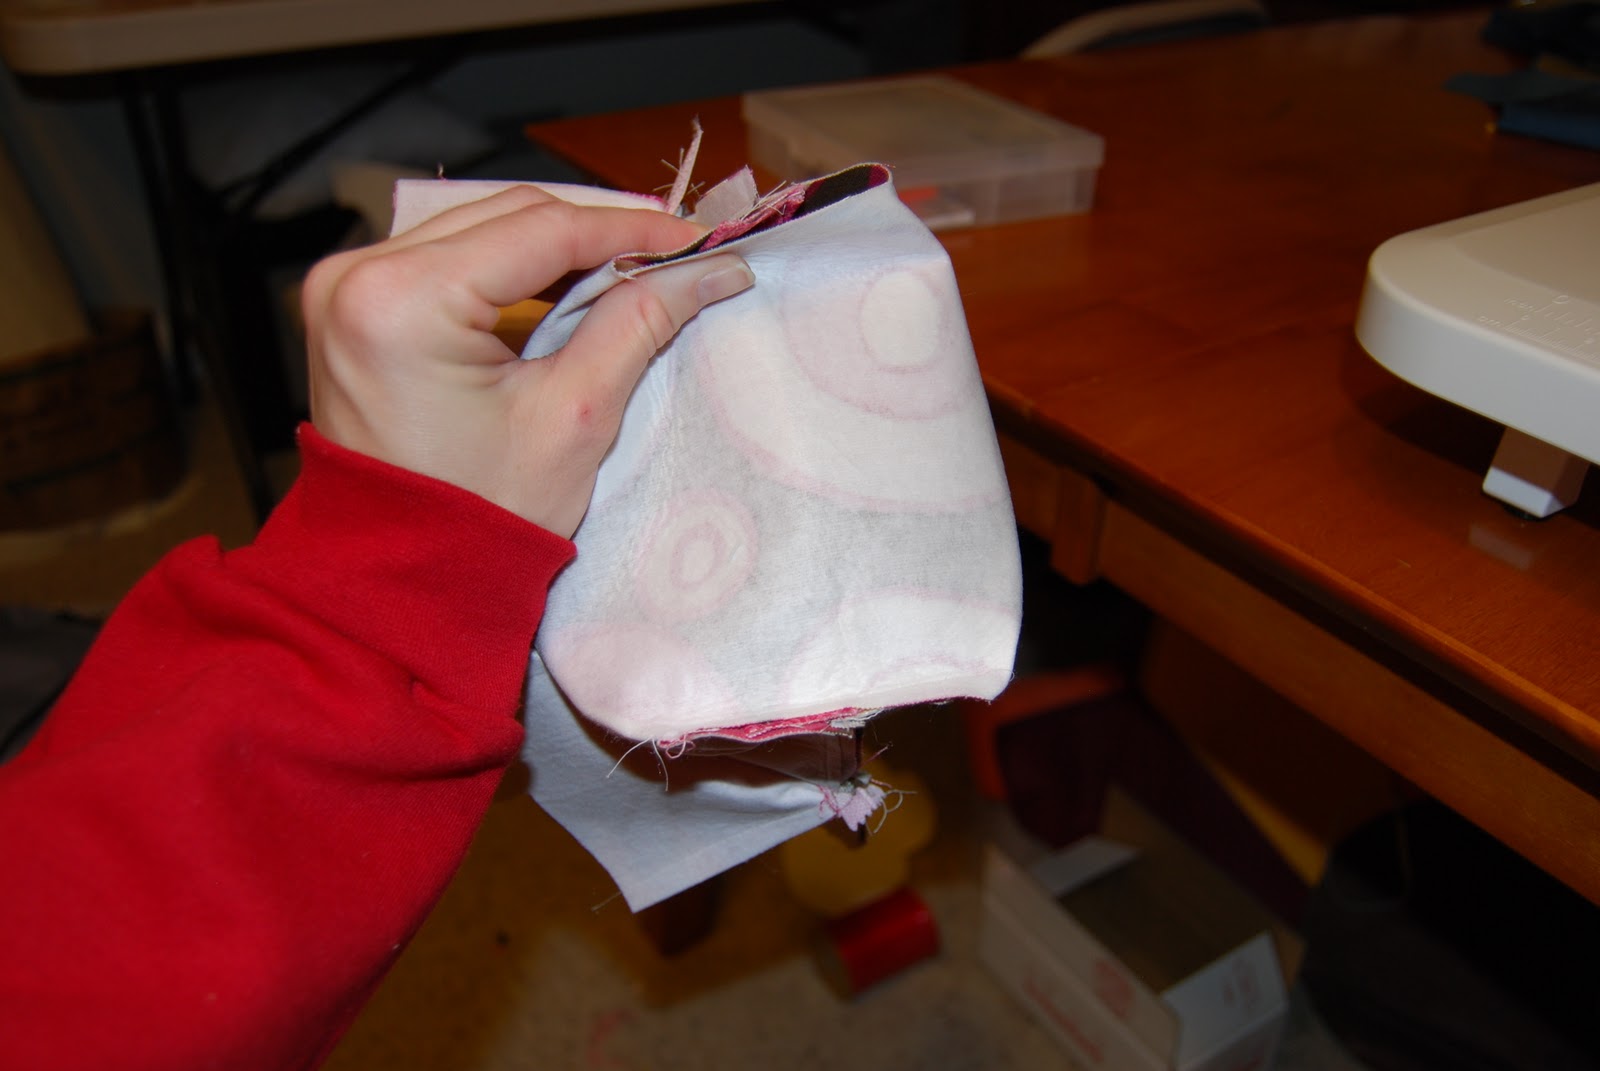
When finished, you should have closed off both the main portion and the lining, with the zipper caught in both. It looks like this:
Now, reach on in and open up that zipper. If you don't, you won't be able to turn it!
Now do that same tricky step on the other end of the bag.
Set that aside for now to make your handle. Press 1/2 inch down on both sides of handle
Then, fold in half and press down.
Top stitch 1/4 inch on both sides of handle. Now it's done!
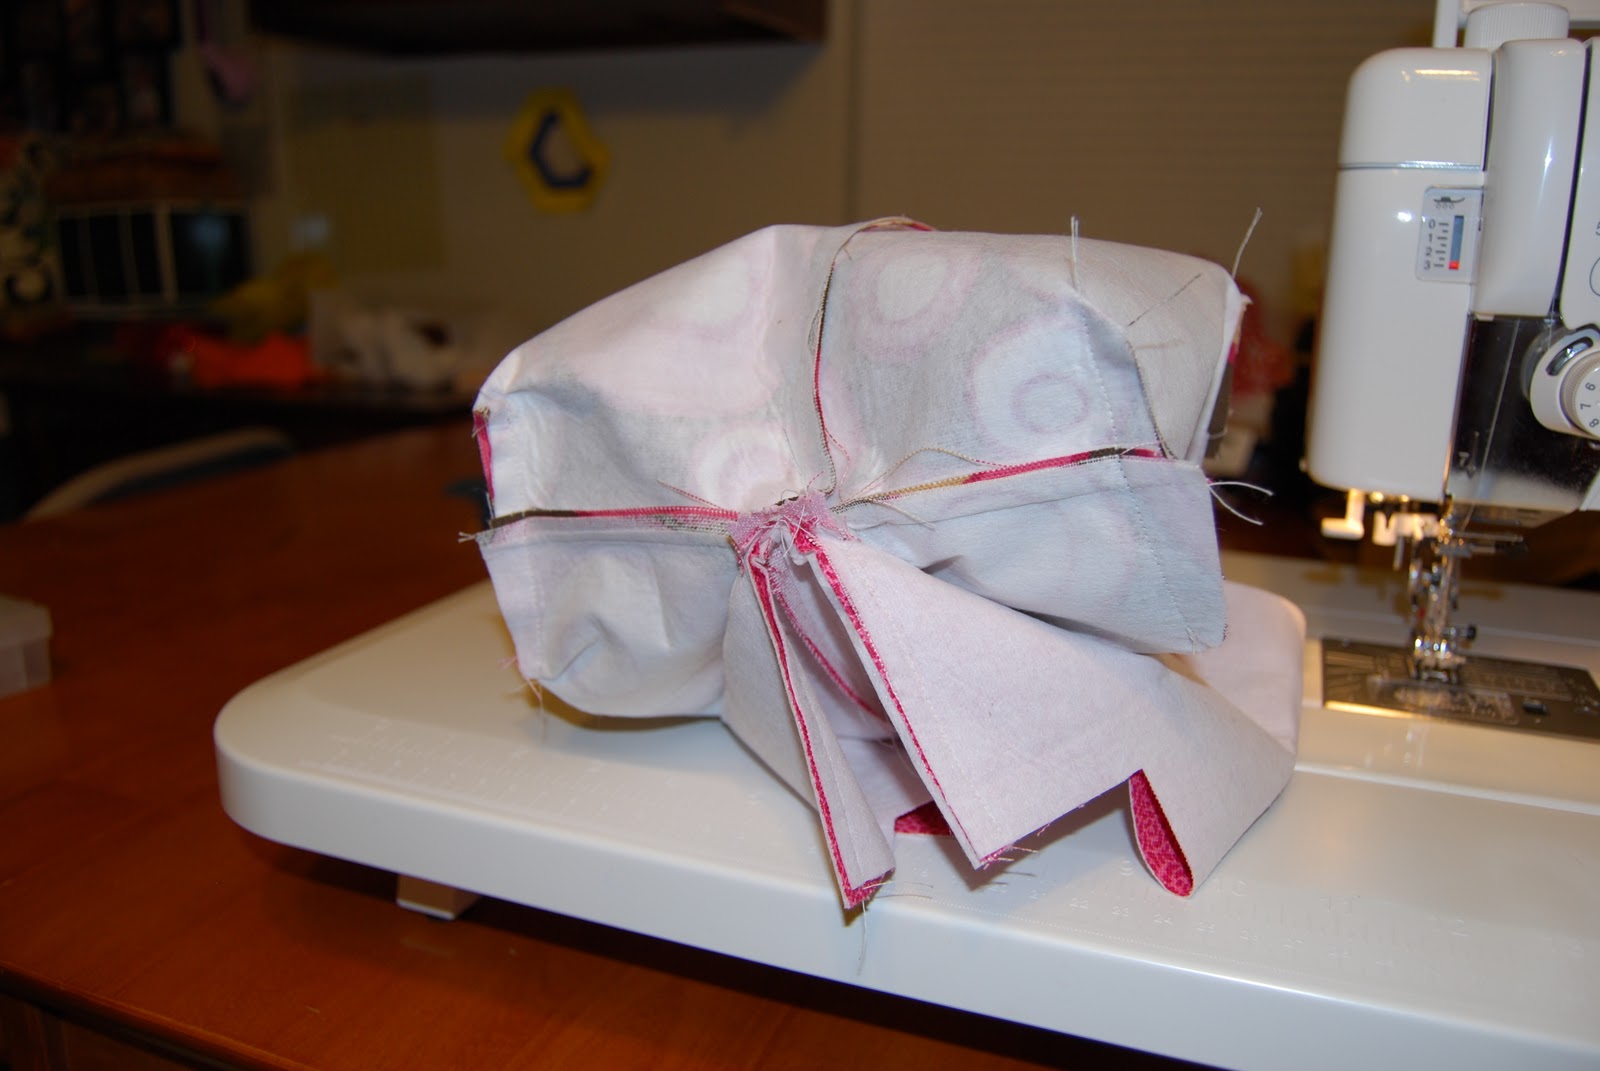
This next part can be a little bulky as you make the corners, so be patient and don't be afraid to manipulate the bag as you go!
Pinch the corners so that the seam is centered on the other side of the cut out square. Slide your handle in and center it in the seam.
Stitch the corner closed.
On the opposite side (make sure to do this on the short side!) bring the handle over (make sure it's not twisted!) and pinch the corner in the same manner. Stitch as before.
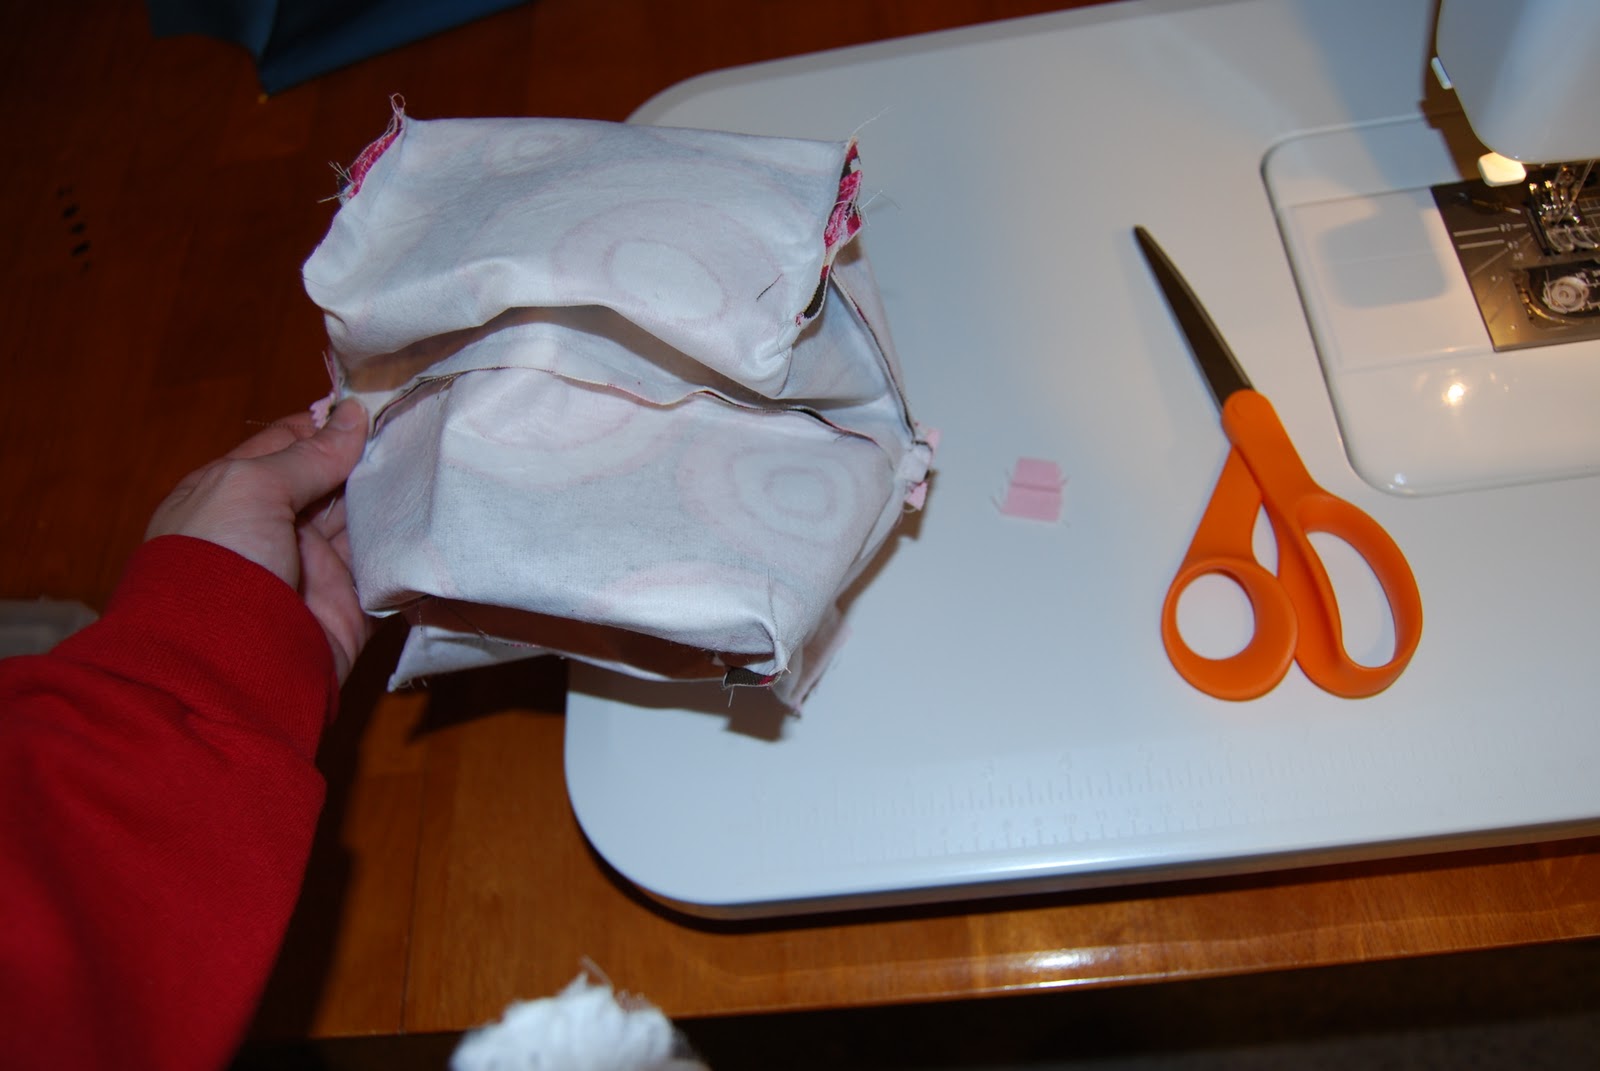
Now, start pinching and stitching all remaining corners. It gets bulkier with each corner, so be patient!
Once all corners are sewn, trim off excess zippers and seams as necessary.
Through the opening in lining, begin to flip your bag right side out.
As you turn, keep the lining out of the main bag.
Stitch the opening in the lining closed, either by machine (as I did, but you do have to manipulate it a bit!), or by hand.
Push lining into bag and push out all courners until shape is correct.
Ta-da!! You have made a nice little dopp kit!!
Look how cute it looks with the Weekender Bag!
Now fill it with travel supplies and enjoy your trip!